
Unlock a better way
Offer card acceptance to your customers today.
![]()
Offer it in store for just £8.55 a week!*

Already a Payzone retailer? Unlock competitive card acceptance packages through Payzone Plus.
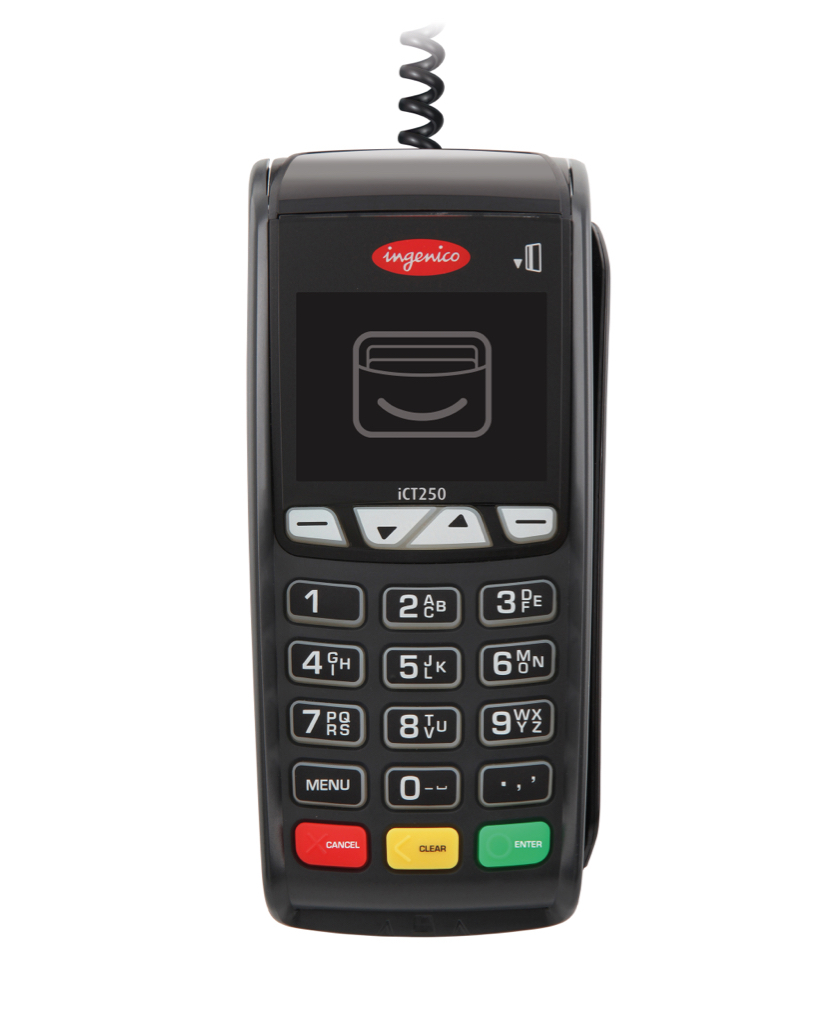
By combining bill payments and card acceptance in one handheld device, there’s no need for additional card machines cluttering up your countertop.
-
Great card transaction rates***
Competitive card transaction rates for Payzone retailers.
-
Short Contract
You won't be tied into a long-term card acceptance functionality contract.
-
No set up fees
No hidden fees to join and no hidden fees at the end of your contract. -
Next day settlement***
Enjoy cash in your bank, the next working day.
Upgrade or unlock card acceptance through Payzone Plus and give customers an easy way to pay for their bills and groceries, all in one place.
Find Out More About Card Acceptance with Payzone Plus
![]()
Say Hello to takepayments
Payzone Plus not right for your business? Perhaps you don’t need combined bill payments and card acceptance. Say hello to our card acceptance partner, takepayments. With over 25 years of experience and 55,000 businesses already on board, there are plenty of ways for small, independent businesses to take card payments in person, online or over the phone.
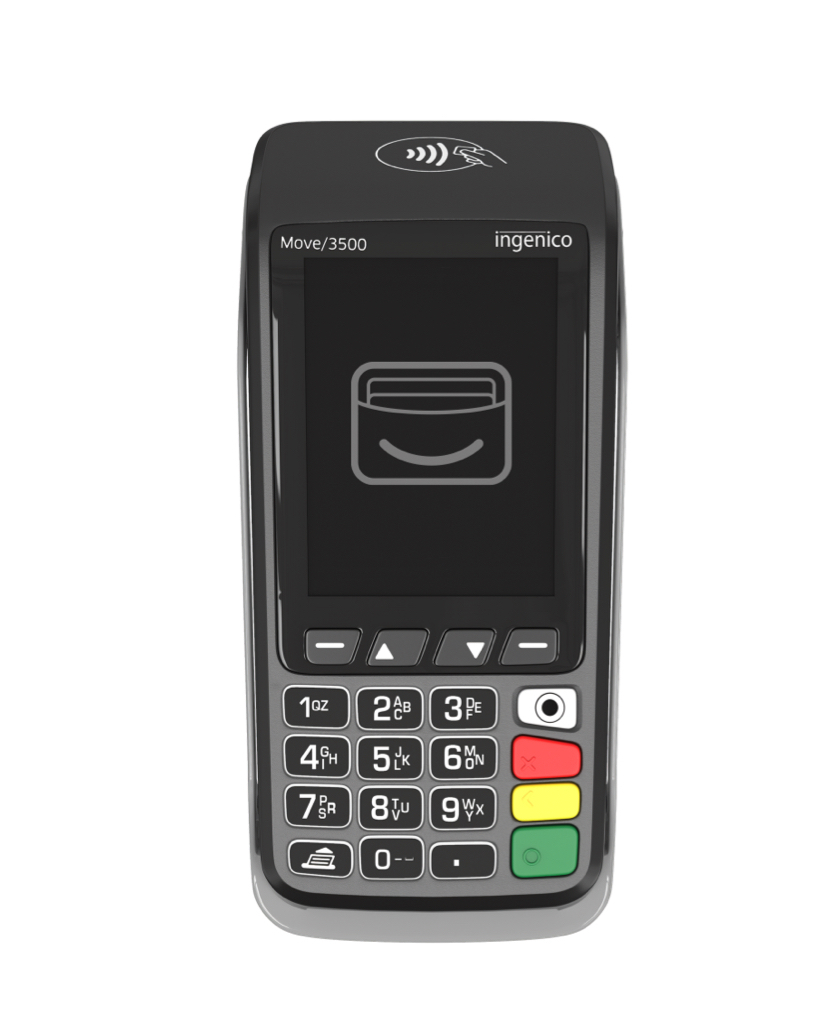
A card machine to suit every business
Whether you do business behind a counter or on the go, there is a card machine and card acceptance package to suit you.
With 76% of all debit card transactions made through contactless payments, the following card machines all offer contactless functionality.
Portable
Take the machine to your customer
Hand-held and lightweight
50m range via Bluetooth or WiFi
Long battery life

Countertop
For behind the counter payments
Small and compact
Connect by broadband or phone
Print receipts quickly
Mobile
For payments on the go
Built-in GPRS SIM card
Connect anywhere there is a signal
Long battery life
Call 0800 0566 015 now to upgrade your Payzone device or learn more about our card acceptance packages through takepayments.
Do you already have card acceptance?
If you’re already with another card provider, we can still help. Challenge us today to see if we can find you a better card payment deal and beat your current rate. Get a Card Acceptance Quote
Have you considered Payzone Plus?
Do you run a convenience store without a bill payments service?
Introducing our brand new Payzone Plus device, which can process both bill payments and card acceptance.
Offer bill payment services and card acceptance functionality for just £8.55* a week.