Download our helpful pdf installation guide, or follow the instructions below:
Device installation and registration
You will need the following:
- Available 240v power socket for the charging dock to be plugged into.
- Wifi internet connection.
- 15 digit registration code (in the Payzone Plus Registration email we sent to you).
- Test barcode (printed inside the box lid and also on the Welcome letter that came with your Payzone Plus).
- Till roll.
Step One: Set-up
1.
Insert the supplied till roll into your Payzone Plus as shown opposite.

2.
The till roll must be inserted this way with the paper exiting the Payzone Plus near the screen.

3.
Place the Payzone Plus onto the charging dock.

4.
Plug the charging dock into the power socket and turn it on by holding this button on the side.

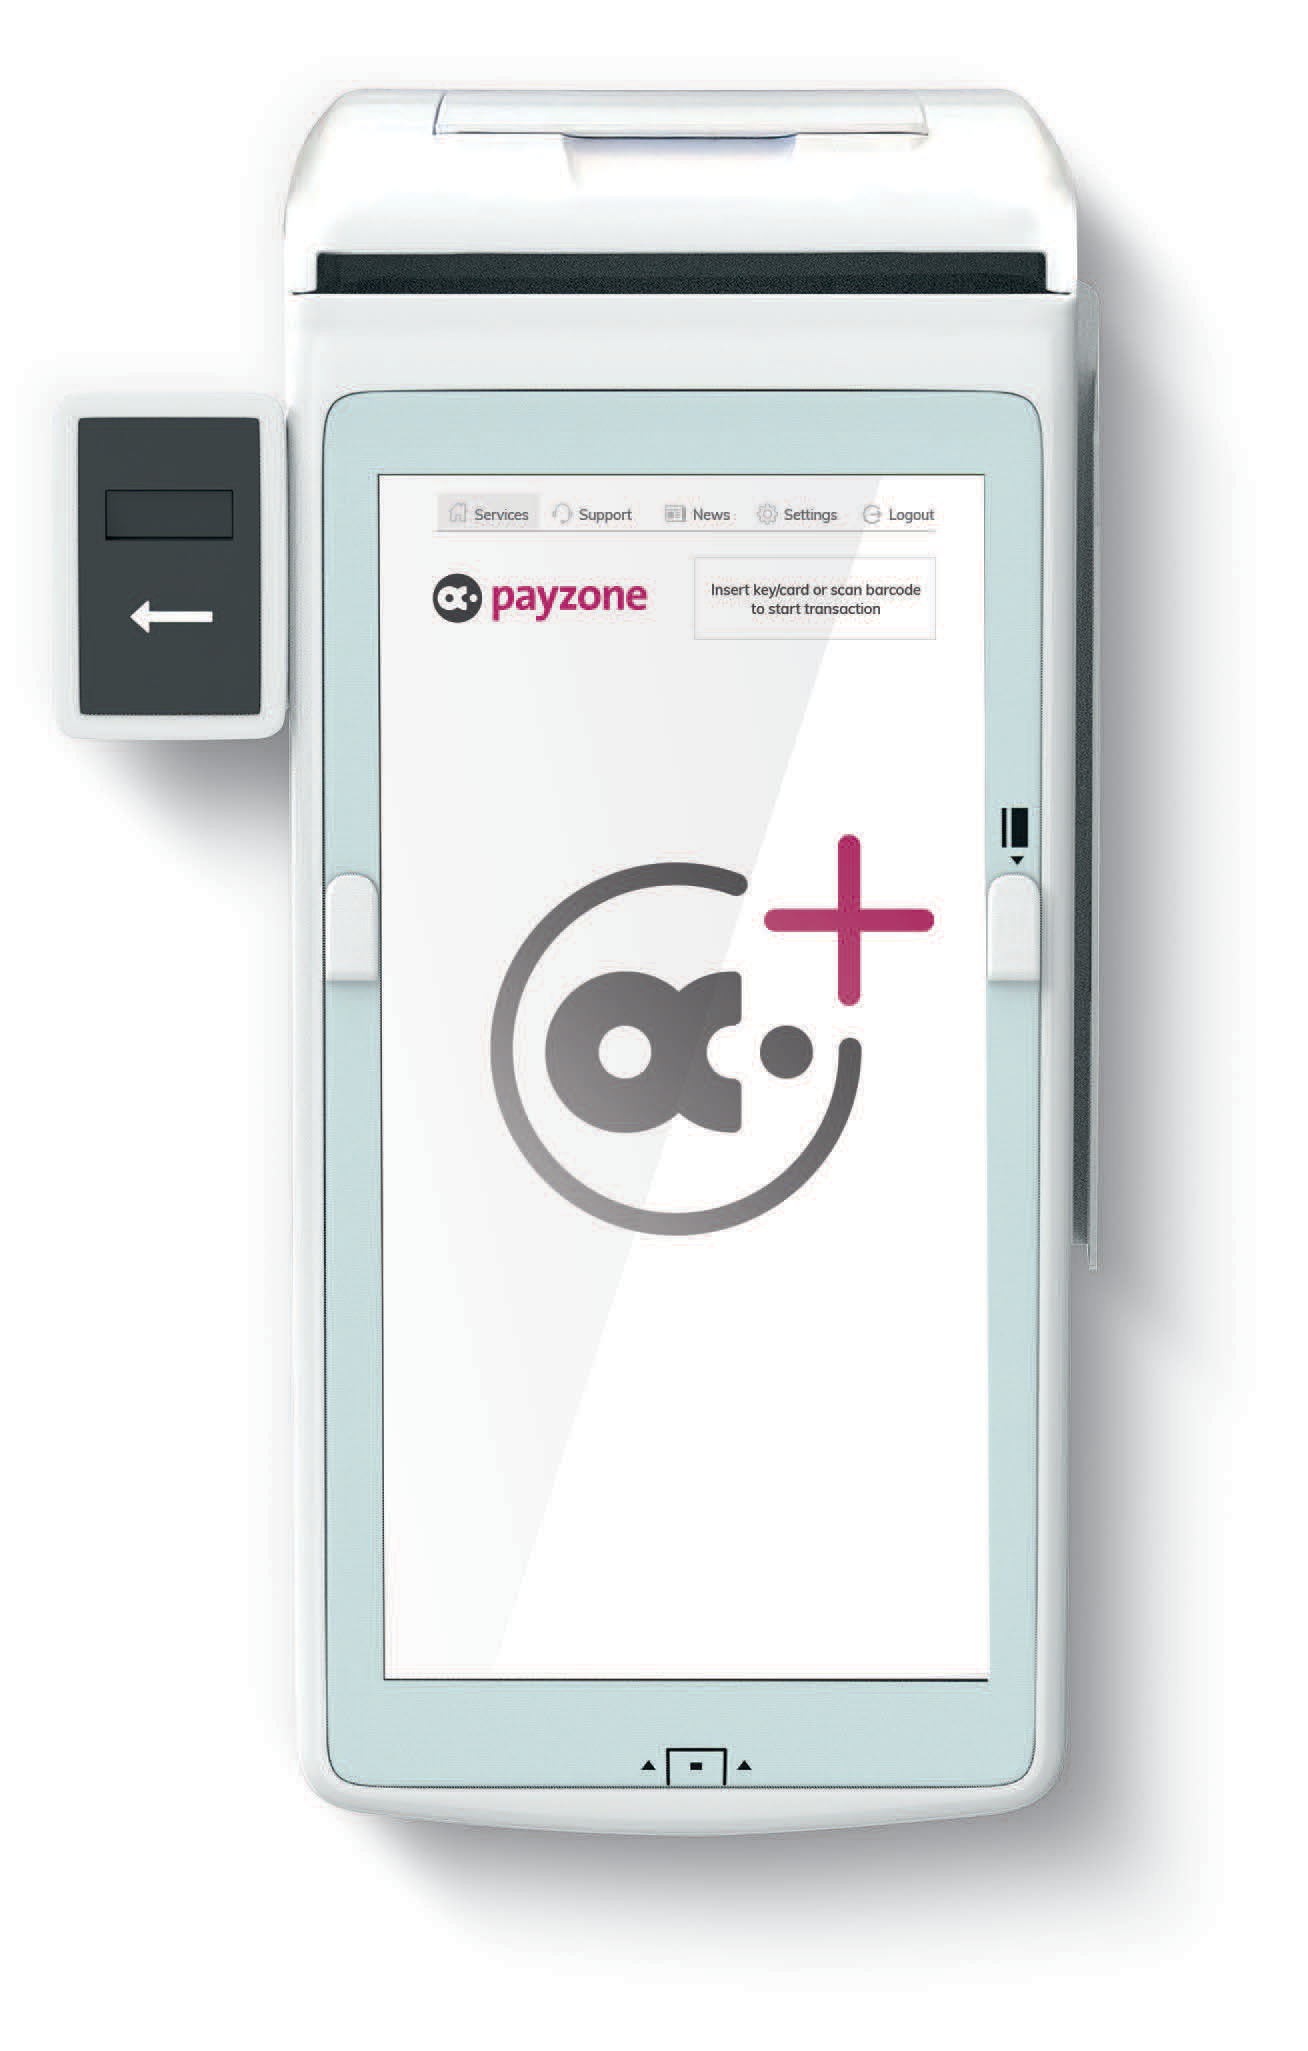
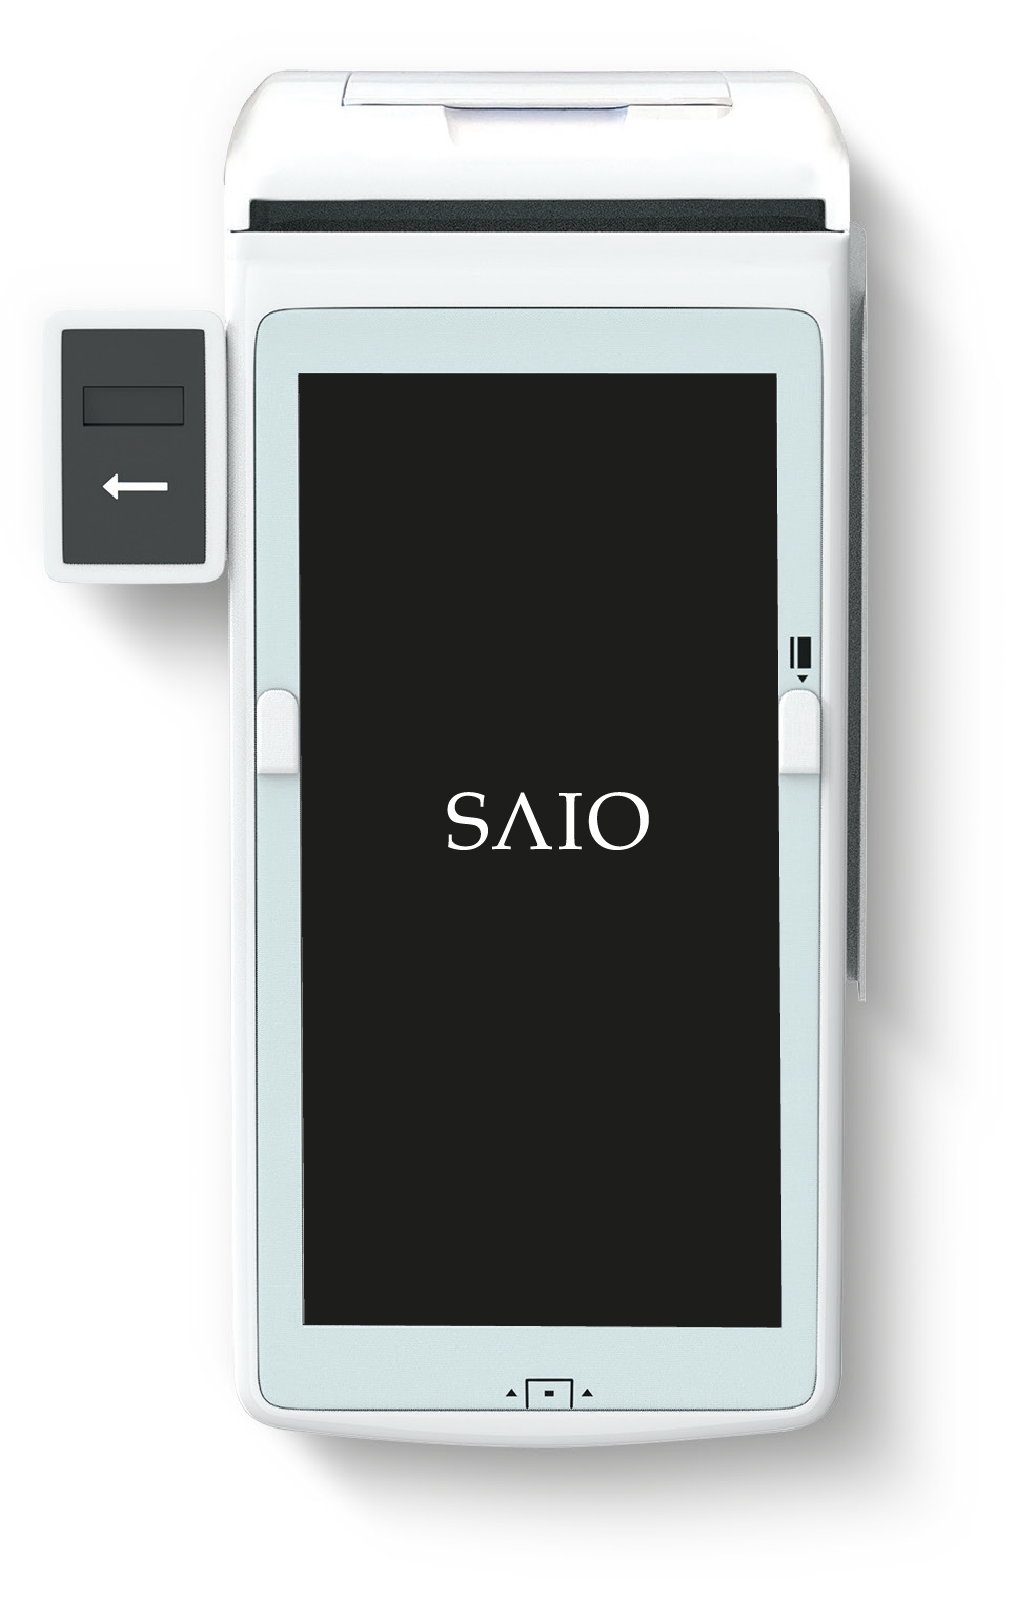
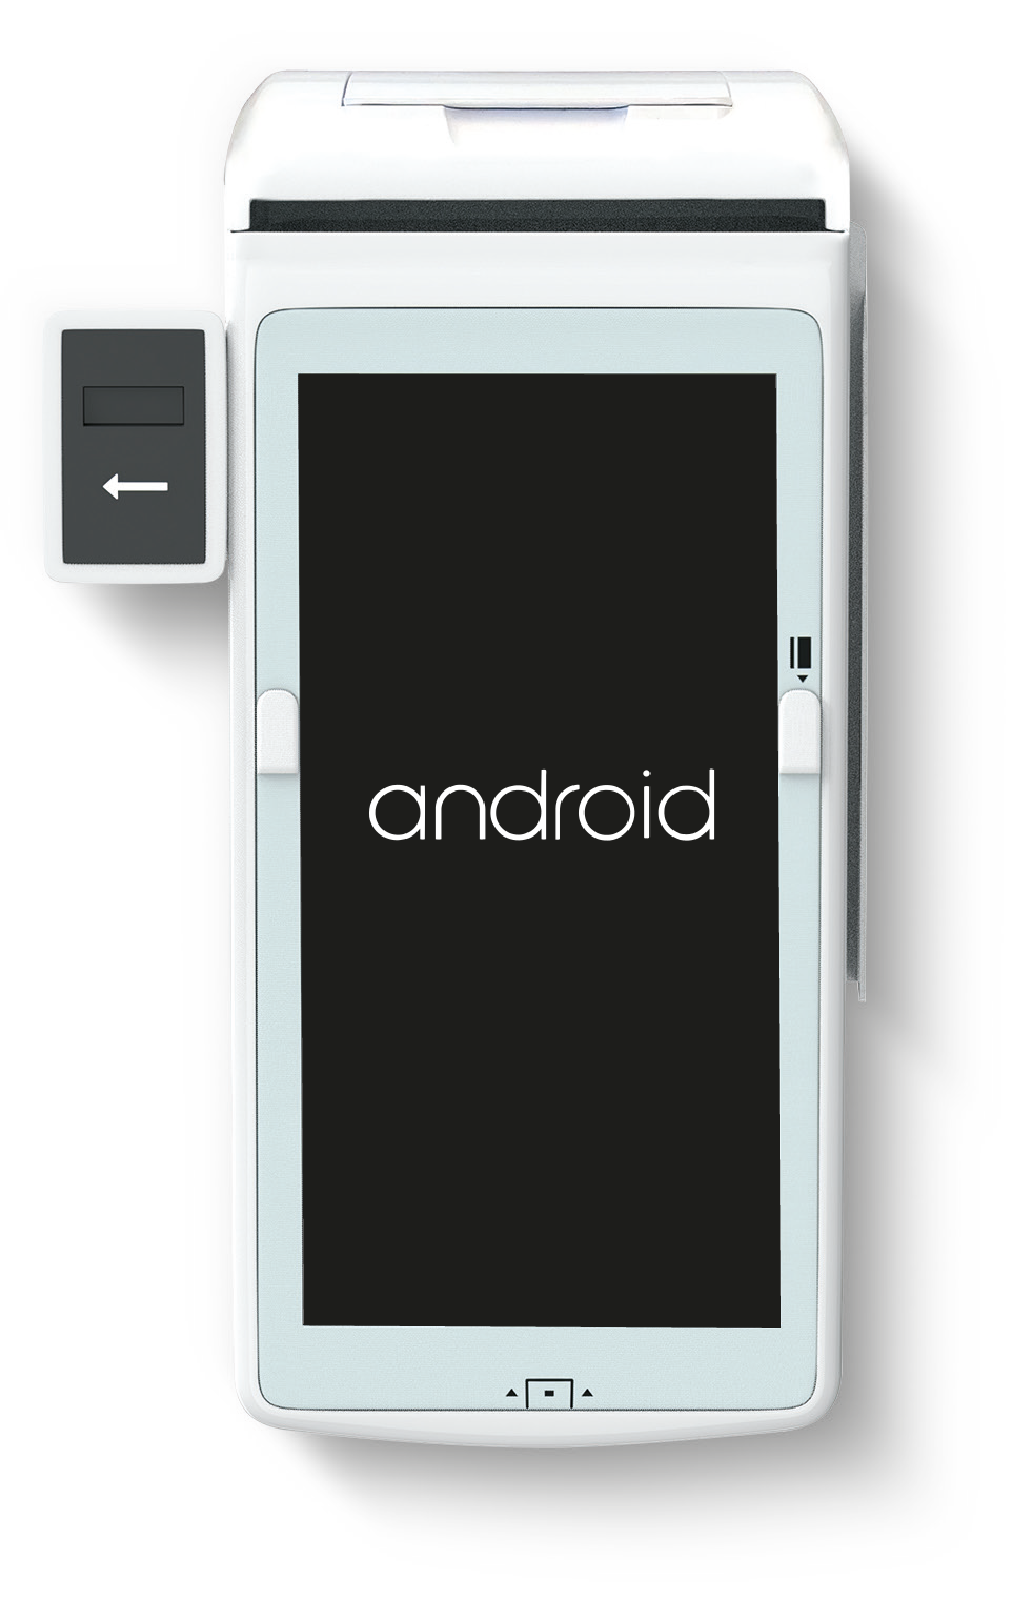
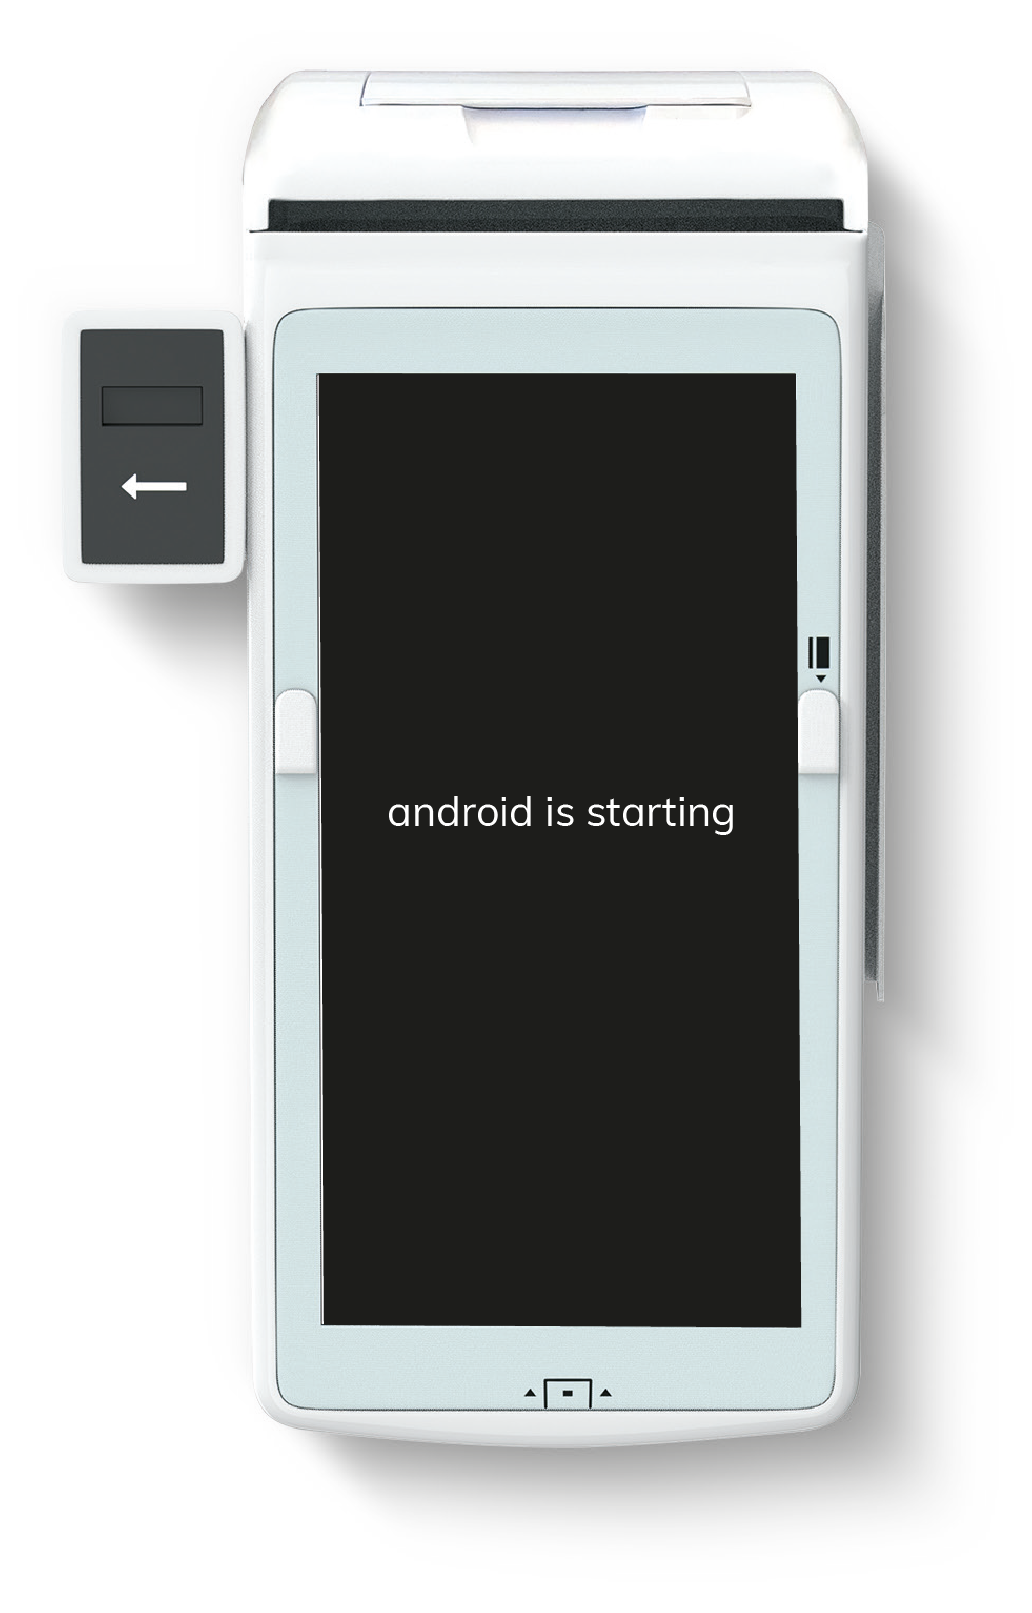
When the Payzone Plus powers on it will display a series of screens in this
order: SAIO, android, android is starting, pink Payzone
screen and then the network screen (see below).
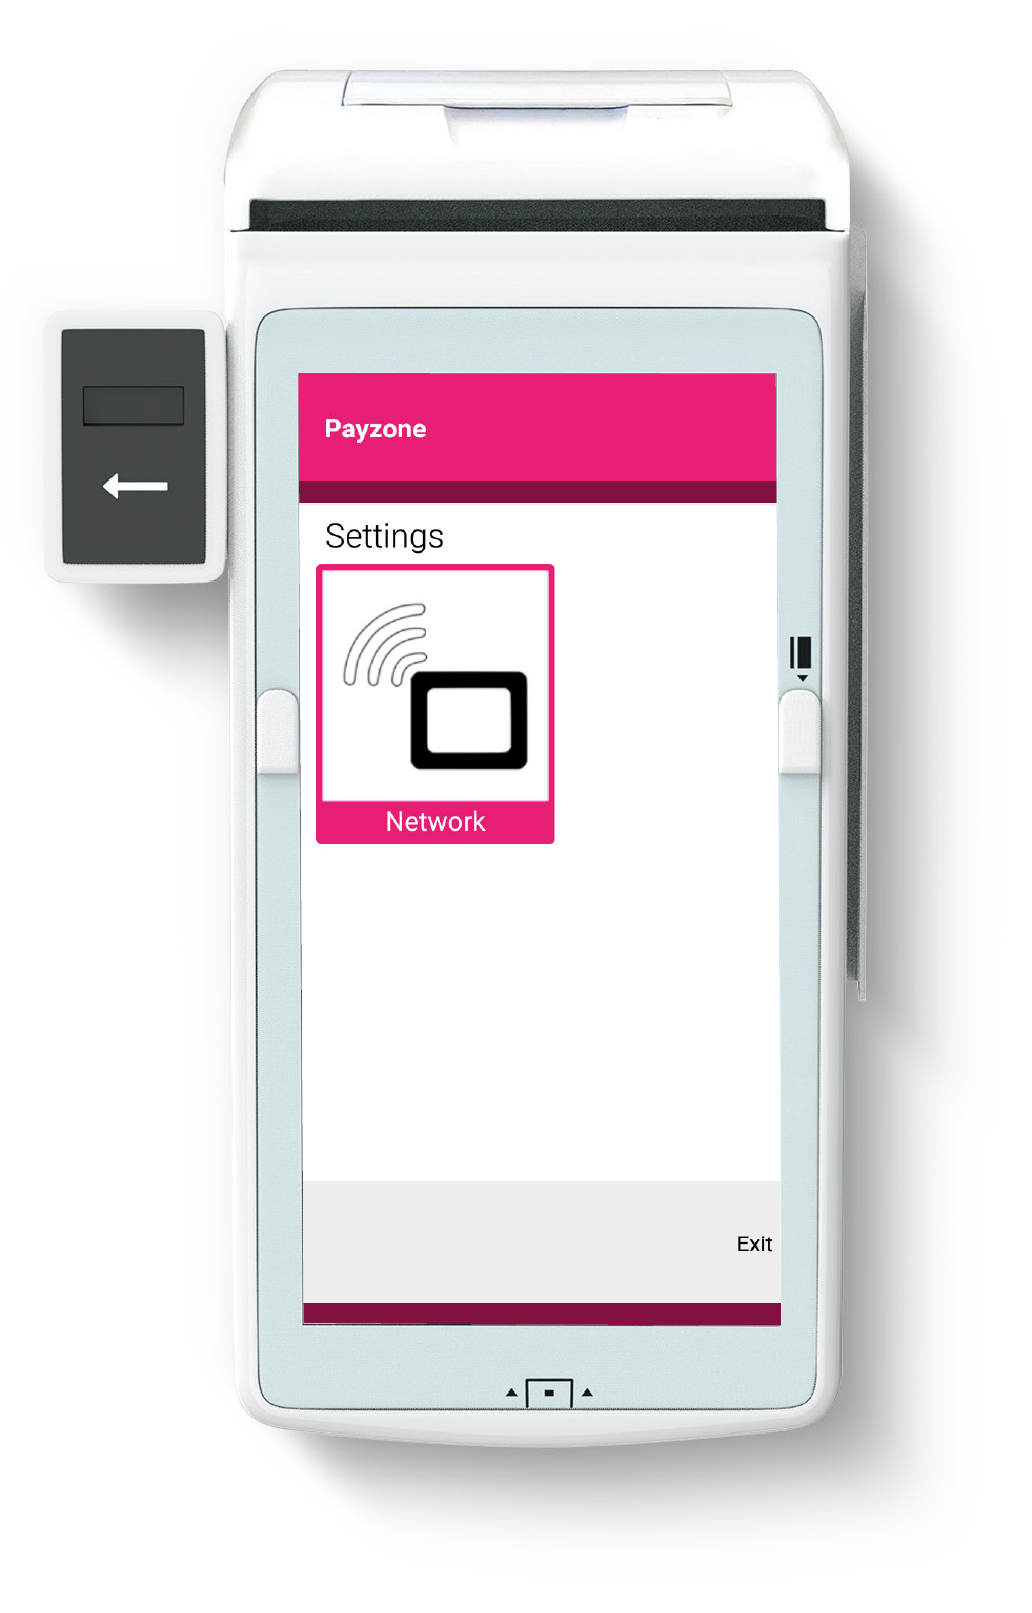
Once the network screen has appeared follow the steps below to connect
your Payzone Plus device to a WI-FI network.
5.
Press Network

6.
On the connect to Wifi screen, select
your Wifi router from the list.

7.
Enter the password for your router
and press Connect.

8.
A box will show once connection is
successful. Press OK to continue.

9.
Select Settings to go back to the Network
screen and press Exit.

10.
Wait a few minutes for the latest software to
download. Now hold the power button on the
side for a couple of seconds and press Restart.

Step Two: Registration
1. The software will update and the Network
Settings screen will appear again. Press Exit.

2.
Your Payzone Plus will check for updates
and if it doesn’t move past this screen, please
call the Helpdesk on: 01606 566 566.

3.
On the Payzone Plus registration steps
screen. Press Manually Enter Number.

4.
Enter your 15 digit registration number from
the Payzone Plus registration email we sent to
you and press Continue.

5.
The device will now briefly show
Attempting to register screen.

6.
Registration Successful will display and your 4 digit cashier and admin PIN
numbers will print out automatically, so long as the till roll is inserted correctly.
Press continue.

7.
If you need another copy of the PINs, simply select Re-Print Pins before pressing
continue.

8.
The login screen will be displayed. Enter
your 4 digit Cashier PIN.

Step Three: Test Transaction
1.
Now press Bill payment.

2.
Press Scan.

3.
Scan this barcode which is also printed under the box lid and in the Welcome letter
you received with your Payzone Plus.

4.
Press Installation Test Transaction.

Your Payzone Plus is now all set up and ready for your customers!